
I don't know what it is but the fresh wind blowing in the open windows, the smell of a hearty meal in the oven, and the warmth that a blanket brings after the sun goes down is so inspiring. I feel like I am unbeatable! Which is why when my mom asked me to create magic with a fall garland I jumped at the opportunity! I could do no wrong... I hoped.
Mom had purchased a stunning fall garland last year for a special event (my wedding shower) and once it served its purpose, she was a little confused as to what to do with it. She didn't have a place in her home where it fit so she asked me to create something to hang on the door. It was a very well made garland and we thought that just cutting it in half and attaching the ends together would create two nice wreaths to hang on her double doors. Unfortunately, the wire was VERY difficult to work with and I tired my best but it was a no go.
 |
| Garland |
I remembered that I had two stick wreaths packed away and thought that if I stripped the garland down and added all the separate pieces to the stick wreaths that I could make her two very nice, very sturdy decorations for her home.
I dug out my wreaths and cleaned them up. They really are beautiful once you take off all the dried leaves and unruly twig sticking out from every direction! With a little bit of primping and pruning, I managed to get them to look a little more like a wreath you would want to hang on your door.

I proceeded to cut off all the leaves on the garland with some wire cutters and started playing around.
 |
| Garland components! Fingers crossed thats this works! |
I divided all the similar pieces together in piles and split them all in half because I wanted both wreaths to look the same. I started with a sprig of green leaves and evenly spaced them out.
 |
| The first step |
I added the beautifully coloured groups of leaves all around and where ever there was a hole, I filled with single leaves.
 |
| I had to play around a lot to make sure the leaves were spread out evenly |
 |
| Assembled wreath |
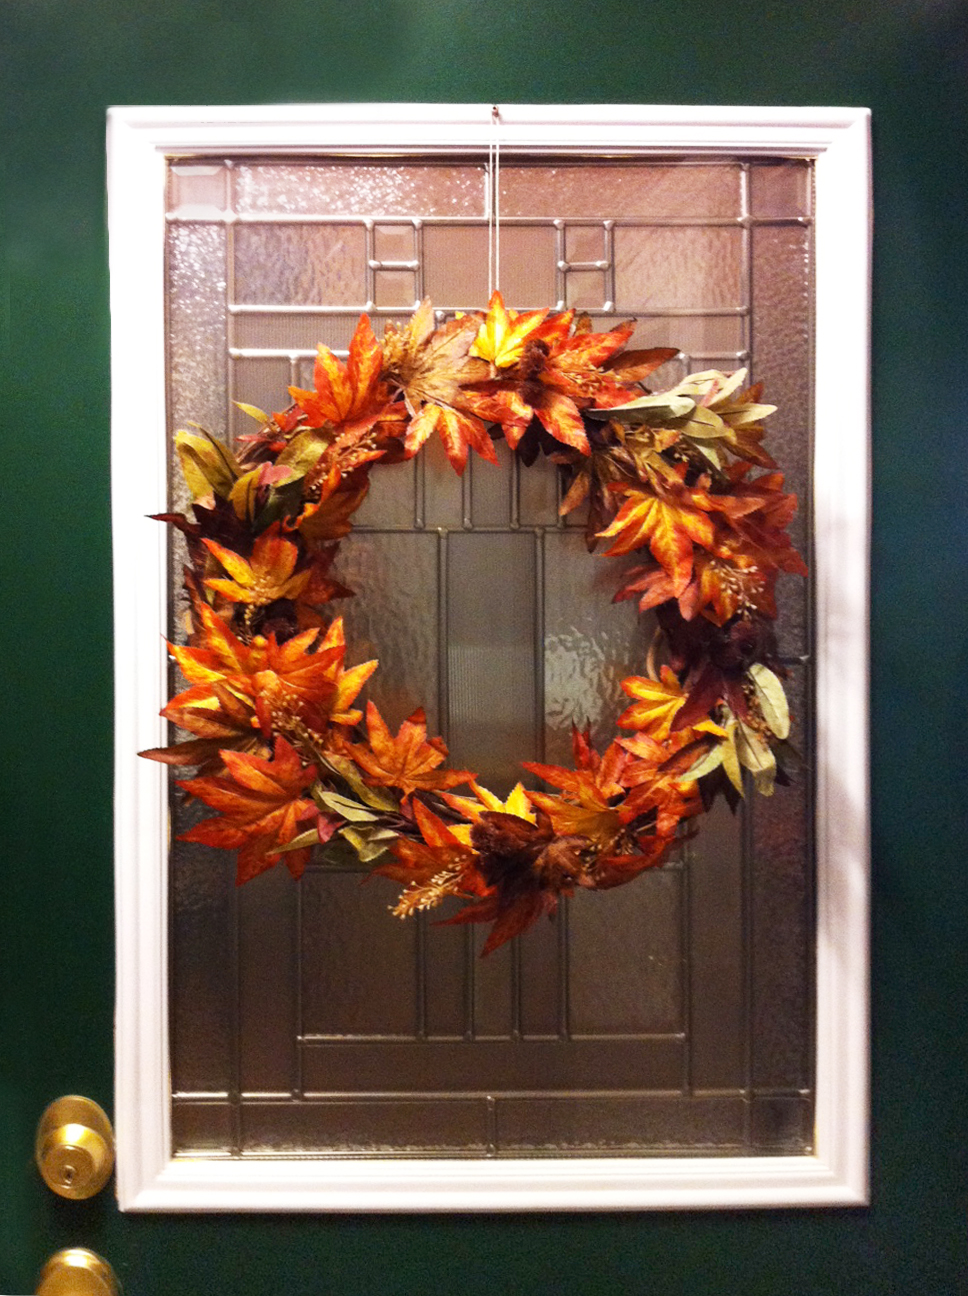
I added a few finishing touches and VOILA!
 |
| Finishing Touches |
My mom loved them! And I hope you do too!
 |
| Not too shabby! |
I was a little worried about this one because the last thing I wanted to do was ruin a beautiful garland and give my mom two ugly wreaths that she wouldn't want to hang up. Fortunately for everyone it all worked out and she loved them!
Another successful Sunday craft! After all, what else are you supposed to do an a cool Sunday in Fall? I wouldn't have had it any other way :)
 |
| Mom's happy, so I'm happy :) |
I absolutely love my new fall wreaths. I have already received two compliments. They are beautiful Teri. Thanks so much. Love you and my new wreaths!!!!! MoM
ReplyDelete